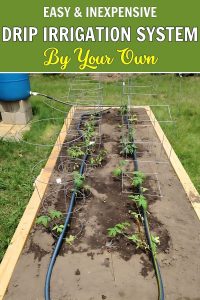
How to Make Your Own Drip Irrigation System on a Budget
One of the biggest challenges I faced as a gardener was keeping my plants watered without wasting time or resources. I used to stand outside with a hose, carefully soaking each plant by hand, only to find that some areas were overwatered while others dried out too fast.
When I tried using sprinklers, I quickly realized they were inefficient, prone to evaporation, and didn’t always reach the roots where plants needed moisture the most.
That’s when I discovered drip irrigation, and let me tell you, it was a game-changer. It delivers water directly to the base of the plants, reduces waste, and saves so much time.
But when I first looked into buying a ready-made system, I was shocked at how expensive they could be. So instead, I decided to make my own drip irrigation system on a budget using materials I already had or could get cheaply. Now, my plants stay hydrated with minimal effort, and I don’t have to worry about wasting water.
Why Drip Irrigation Works So Well
Before I set up my first drip system, I didn’t fully understand why it was so much better than other watering methods. The biggest advantage is that it delivers water slowly and directly to the root zone, so plants get exactly what they need without runoff or evaporation.
Unlike sprinklers, which can lose up to 50% of water to wind and evaporation, a drip system reduces water waste and helps prevent fungal diseases by keeping leaves dry.
It also encourages deep root growth, making plants stronger and more drought-resistant. I’ve noticed that since switching to drip irrigation, my plants look healthier, grow faster, and produce better yields.
And the best part? A DIY system doesn’t have to be expensive. I’ve built simple setups using nothing more than old hoses, plastic bottles, and PVC pipes, and they work just as well as professional kits.
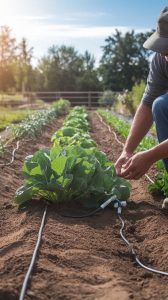
How I Built My Own Budget-Friendly Drip Irrigation System
The first time I made a drip irrigation system, I used recycled materials and a few affordable supplies from the hardware store. It took some experimenting, but once I got it set up, it worked like a dream.
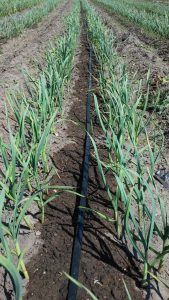
I started with a basic gravity-fed system that used an old garden hose as the main water line. Instead of buying expensive drip tubing, I took a used hose, drilled small holes along its length, and laid it along my garden beds.
Water slowly seeped out, reaching the roots evenly. To keep the holes from clogging, I made sure to flush the hose out every few weeks.
For plants that needed extra water, I added small plastic tubing, the kind used for fish tanks, to direct water straight to their roots. This worked especially well for tomatoes, peppers, and deep-rooted vegetables that need consistent moisture.
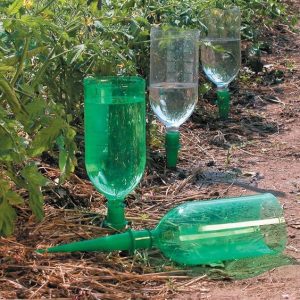
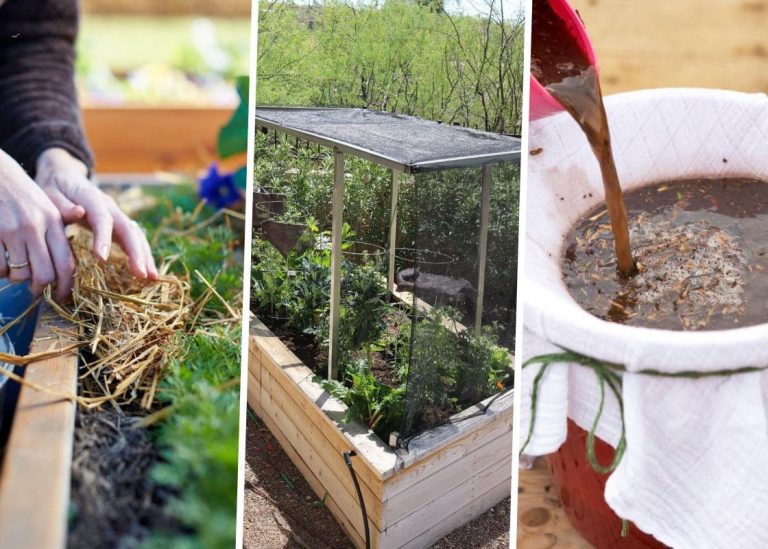
One of my favorite budget-friendly methods was using plastic bottles as individual drip emitters. I took old two-liter soda bottles, poked tiny holes in the caps, and buried them upside down near my plants.
When filled with water, they slowly released moisture into the soil over several hours. This method was perfect for potted plants, raised beds, and hanging baskets that tend to dry out quickly.
Setting Up a More Advanced DIY Drip System
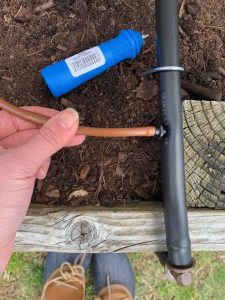
After seeing how well the basic setup worked, I decided to upgrade my system using inexpensive PVC pipes and drip tubing.
I picked up some ½-inch PVC pipe from the hardware store and drilled small holes where I wanted the water to drip. I then connected the pipes using simple PVC elbows and T-joints, creating a network that delivered water to multiple garden beds.
To regulate the flow, I attached a cheap garden faucet timer, so my plants got watered automatically at sunrise and sunset. This was a game-changer for me, it meant less work, no more forgetting to water, and a more efficient way to hydrate my plants.
For those who want an even simpler option, soaker hoses are another great budget-friendly solution. They’re basically hoses with tiny pores that allow water to slowly seep out.
I’ve used these for my flower beds and found that they’re incredibly easy to set up, just lay them out, cover them with mulch, and connect them to a water source.
Watering Smarter, Not Harder
One thing I learned along the way is that drip irrigation isn’t just about saving time, it’s about using water wisely. By watering at the base of the plants, I cut my water bill down significantly because less water evaporates, and none is wasted on areas that don’t need it.
I also make sure to mulch around my drip lines to help retain moisture and keep the soil from drying out too quickly. In my raised beds, I’ve buried drip tubing just below the surface, so the water reaches the roots without sitting on top of the soil.
Another important lesson? Adjusting the system for different plants. Some crops, like leafy greens, need consistent moisture, while others, like herbs and peppers, prefer drier conditions between waterings.
I now separate my garden into zones so I can control how much water each plant gets.