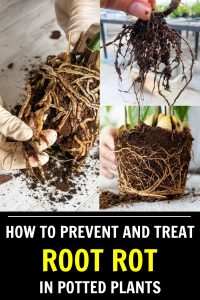
How to Prevent and Treat Root Rot in Potted Plants
There’s nothing more frustrating than watching a plant that was once healthy and thriving suddenly start to droop, turn yellow, and stop growing. I’ve been there more times than I’d like to admit.
At first, I thought I was just over or under-watering, but when I pulled up the plant to inspect the roots, I found a soggy, dark, mushy mess. That’s when I learned the hard way about root rot, the silent killer of potted plants.
Root rot is one of those problems that sneaks up on you. Everything looks fine on the surface until the damage is too far gone.
The good news? It’s completely preventable, and even if it happens, there’s still hope for saving your plant.
Over the years, I’ve figured out how to stop root rot before it starts and rescue plants that are already struggling. If you’ve ever lost a favorite houseplant or container-grown veggie to this dreaded disease, here’s what you need to know.
Understanding Root Rot: What’s Happening Below the Soil?
Root rot is caused by excess moisture around the roots, which creates the perfect environment for fungal pathogens to take over.
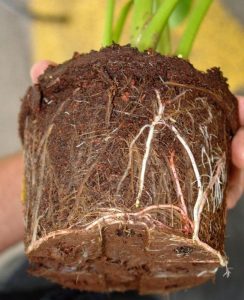
In a healthy plant, roots should be firm, white, and well-spread. But when they sit in waterlogged soil for too long, they begin to suffocate and decay.
As the rot spreads, the plant loses its ability to absorb nutrients and water properly. That’s why, ironically, plants suffering from root rot often look like they’re wilting from lack of water even though there’s too much of it.
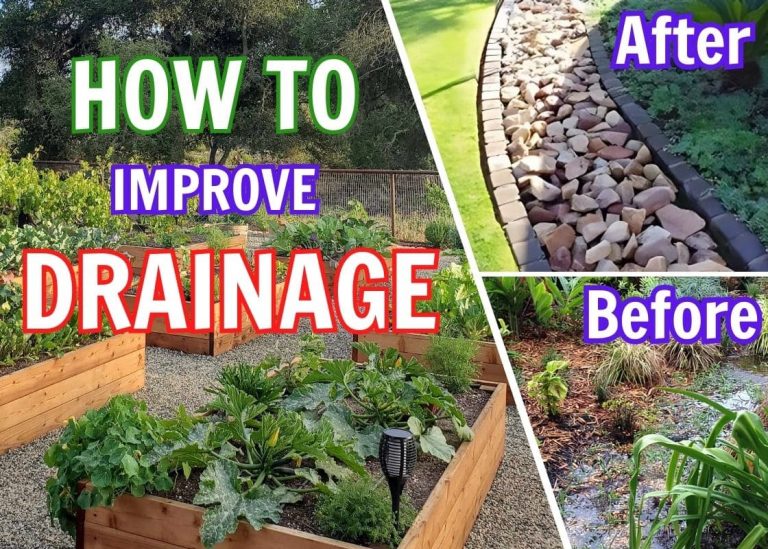
The biggest culprits behind root rot in potted plants? Overwatering, poor drainage, and using the wrong soil mix.
I used to think that giving my plants plenty of water meant I was helping them grow, but I learned the hard way that too much love, especially in the form of watering, can be deadly.
How to Prevent Root Rot Before It Starts
After losing a few too many plants, I made it a habit to check my watering routine and my potting setup before even bringing a new plant home.
The first thing I always do is choose a pot with drainage holes. No matter how beautiful a decorative pot may be, if it doesn’t have a way for excess water to escape, I know I’m setting my plant up for trouble.
If I really want to use a pot without drainage, I’ll place a plastic nursery pot inside it so I can remove it to water and let it drain properly before putting it back.
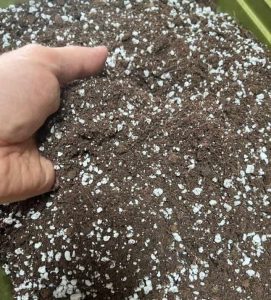
The soil mix matters just as much as the pot. I used to grab any generic potting soil, but I quickly learned that some mixes hold way too much moisture.
Now, I make sure my soil is light, airy, and well-draining. For houseplants like pothos, snake plants, and fiddle-leaf figs, I mix in perlite or orchid bark to improve drainage. For succulents and cacti, I go even further, using a sandy, fast-draining mix that won’t hold excess water.
Watering properly is another key lesson I had to learn. I used to water on a schedule, every couple of days, no matter what. But plants don’t all need water at the same time.
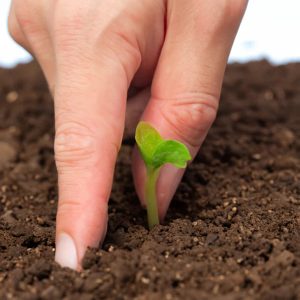
Now, I use the finger test, sticking my finger about two inches into the soil to check for moisture before deciding whether to water. If it still feels damp, I wait.
I also learned that bottom watering (letting plants absorb moisture from a tray underneath) can help prevent overwatering by allowing the plant to take only what it needs.
How to Spot Root Rot Before It’s Too Late
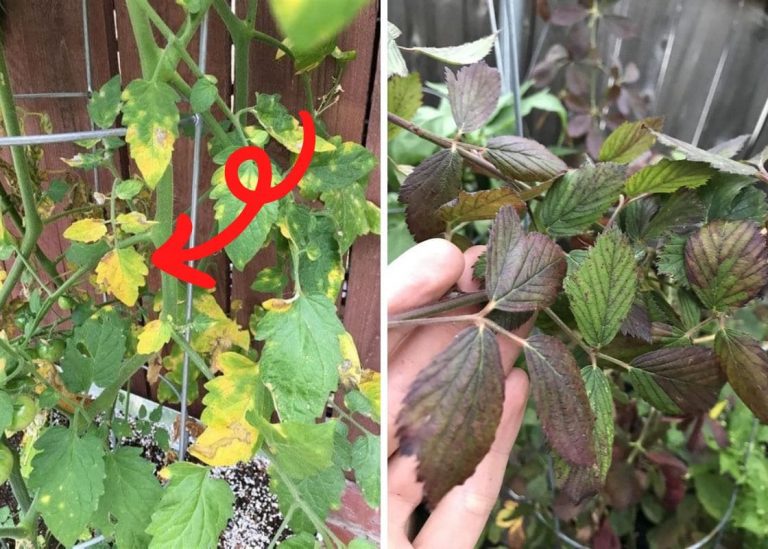
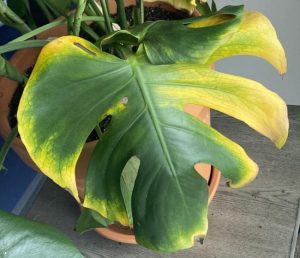
One of the hardest parts of dealing with root rot is that the damage starts underground, where you can’t see it. But there are early warning signs if you know what to look for.
When I notice yellowing leaves, slowed growth, or a plant that looks wilted even though the soil is still damp, I know something’s wrong. If I take a deep sniff near the base and smell a sour, musty, or rotten odor, that’s another big red flag.
At this point, I gently remove the plant from its pot and examine the roots. Healthy roots should be firm and white.
If I find dark, mushy, or slimy roots that fall apart when touched, it’s clear that rot has set in. The sooner I catch it, the better my chances of saving the plant.
How to Treat Root Rot and Save Your Plant
The first thing I do is trim away all the affected roots. Using clean, sharp scissors, I carefully cut off any dark, mushy, or rotting sections, leaving only the healthy, firm roots behind.
I also remove any yellow or damaged leaves, since they won’t recover and will only drain energy from the plant.

Next, I let the plant’s roots dry out for a few hours before replanting. This helps reduce excess moisture and gives it a better chance of bouncing back.
When replanting, I always use fresh, dry soil, never the old, contaminated mix, since it likely contains the fungus that caused the rot in the first place.
Before putting the plant back in its pot, I sometimes dust the roots with cinnamon or activated charcoal, both of which have natural antifungal properties that can help prevent further infection.
For the next few weeks, I go easy on the watering. The last thing I want is to repeat the same mistake and let the rot return.
Instead of watering on a schedule, I wait until the soil is completely dry before giving the plant another drink. If it survives the first few weeks, I know I’ve won the battle.
Final Thoughts: Learning to Work With, Not Against, Nature
Root rot taught me one of the most valuable lessons in gardening, more water is not always better. Plants need oxygen just as much as they need moisture, and finding that balance is the key to keeping them healthy.
If you’re dealing with root rot, don’t give up. Catch it early, act fast, and learn from the experience.